
In previous articles, we have learned to make the plane, the next step to make seketch drawing on the plane that we created earlier. This time we will learn to create a sketch 2d rectangle.
In making the rectangle are many steps that we can do, including making a rectangle by selecting the two diagonal corners. By using the cursor to determine the angle, this allows us to see the rectangular before it actually made.
Rectangles created in the XC-YC plane, YC, ZC, or XC-ZC.
The Rectangle option provides the option to make the curve and sketch
steps to create a rectangle:
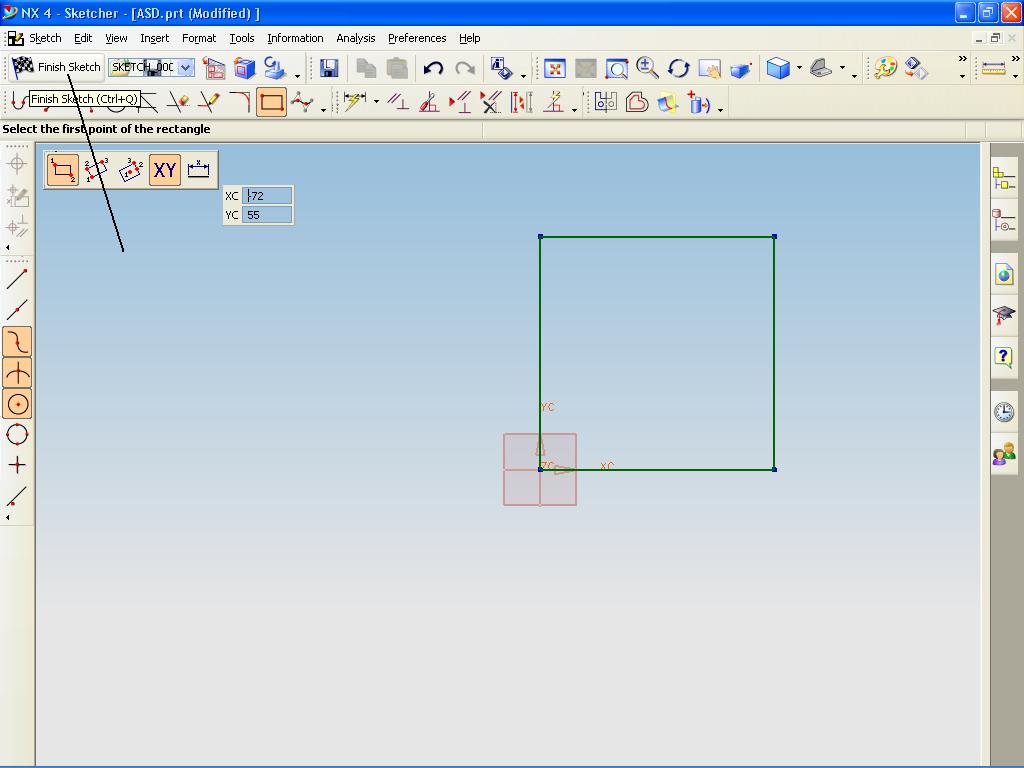
1. Make the first corner; using Point Constructors or enter the input coordinates.
2. Making the second corner; by pulling the cursor to the desired location and click a mouse button or enter the coordinates.

We can make the sides of rectangular horizontal or vertical grid associated with the sketch.
For the rectangle side that is on a different orientation, create a line of Parallelogram.
In addition, to make a rectangle:
1. 1. Click Rectangle on the Sketch toolbar, or Tools, Sketch Entity, Rectangle.
2. . Click to place the first end of the rectangle, drag, and release when the rectangle according to the size and shape.

We can move and change the dimensions by clicking again the form we have created. (Click-click mode).
By dragging the cursor, the rectangle dimensions are dynamically displayed.
To change the size or shape of a rectangle:
In the sketch, pull to the side or upwards.
We can make a sketch of the segment to release when we are dragging it.
Click Tools, Sketch Settings, Remove Segment on Drag.

To change the properties of individual lines in the rectangle:
In an open sketch, select the line and edit the properties in the Line PropertyManager. In the sketch, select and edit the line in PropertyManager Line.
To exit the sketch, please click finish sketch.


